What is Scratch programming?
Scratch is a visual programming language and online community where children can create games, animations and interactive stories. Kids snap colourful blocks together to tell a character what to do. They can make it move, wait and repeat, then change a block and see what happens.
The same skills apply to physical computing. A loop that keeps a character moving can also make an LED blink. A condition that checks for a keypress can check whether a sensor reading has reached a threshold.
How does QuadBlock relate to Scratch?
QuadBlock is an independently developed desktop app for visual block programming with Arduino and supported ESP32 boards. Children who have tried Scratch will recognise the drag-and-drop approach. QuadBlock adds hardware blocks for pins, sensors, lights and motors. Learners can see the generated Arduino C++ alongside their blocks as they build.
Scratch and QuadBlock are separate products. Scratch projects do not import directly into QuadBlock. What carries over is the way of thinking: put instructions in order, repeat a set of actions, and make a decision based on what happens.
Which Arduino and ESP32 boards can kids use?
The Arduino UNO R4 family includes the Arduino UNO R4 Minima and Arduino UNO R4 WiFi. The Minima is a straightforward choice for a first USB-connected project. The UNO R4 WiFi adds a built-in LED matrix and network features, so learners can go from blinking an LED to drawing a pattern or building a connected project. The compact Arduino Nano R4 suits smaller builds. The Arduino UNO R3 is also a good starting point if you already have one.
The QuadBlock board menu includes ESP32 Dev Module and ESP32-S3 Dev Module. Select the exact model first, since GPIO, onboard LEDs and available features vary. The ESP32 block programming guide shows how to get started with an external LED.
A first QuadBlock project for kids
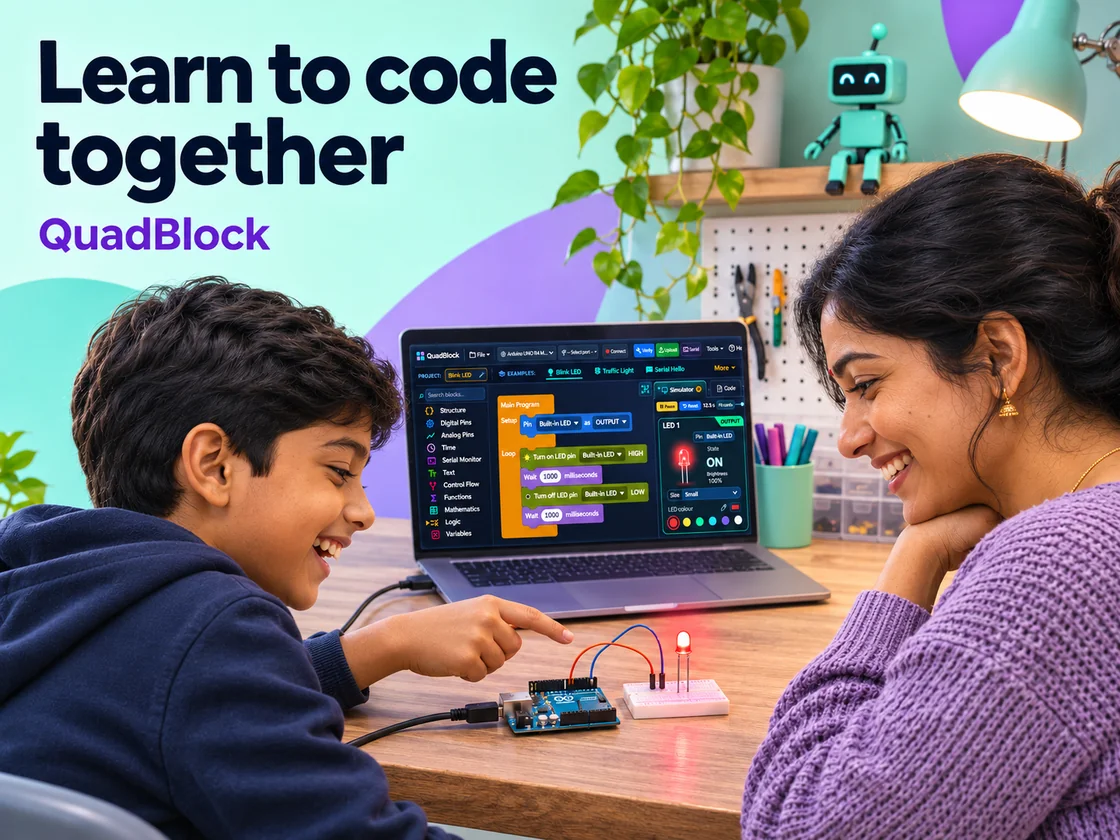
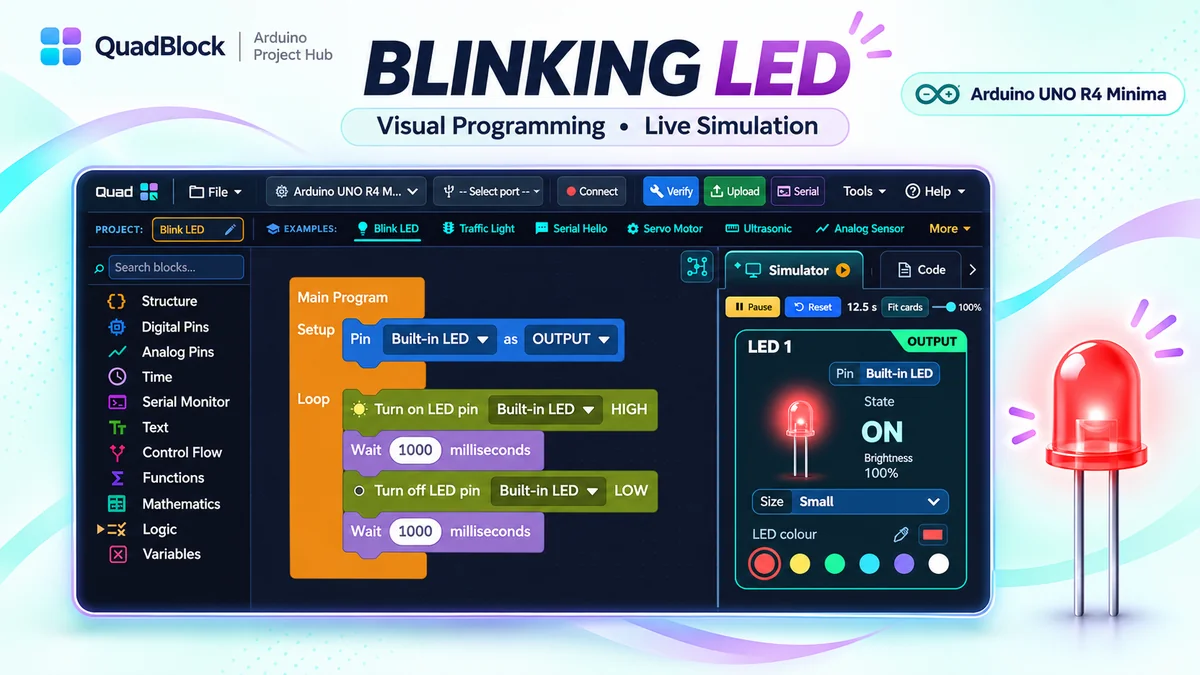
Open the Blink LED example and ask your child to predict what it will do. The loop turns the LED on, waits, turns it off and waits again. Try changing one wait from a second to half a second. That small experiment teaches timing, repetition and debugging without asking kids to memorise syntax.
- Select your board in QuadBlock and open a compatible example.
- Run the example in the simulator where supported. Change one value and compare the result with your prediction.
- Open the Code view and find the corresponding instruction in the generated Arduino C++.
- With adult help, connect the board by USB, verify the program and upload it.
Already have an UNO R3? Try the step-by-step Blink LED tutorial. Starting without hardware? Read the guide to supported virtual hardware.
What can kids build next?
Try a traffic light to practise sequencing. Use a potentiometer and an if/else block to switch an LED on when a reading crosses a threshold. On the Arduino UNO R4 WiFi, draw a pattern on the built-in matrix. On a supported ESP32 board, move on to a local phone control project after learning basic inputs and outputs.
Ask the learner to explain what each block does before they change it. Supported simulator cards are useful for checking program behaviour. Test wiring, power and network behaviour separately on the physical board.